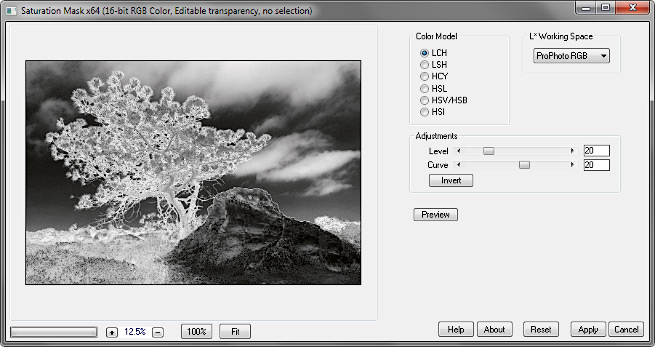
The Saturation Mask .8bf Plugin
Version 1.2

Saturation Mask converts an image according to one of a number of color models and extracts the saturation or chroma channel. It then inverts the extracted image and applies auto levels to fully expand the range from black to white. Use the image as a mask to convert a hue/saturation control to a custom vibrance control.
Set the Color Model, then set the L* Working Space if applicable (for LCH or LSH):
• LCH: L*a*b* Lightness, Chroma, Hue
• LSH: L*a*b* Lightness, Saturation, Hue
• HCY: Hue, Chroma, Luma
• HSL: Hue, Saturation, Lightness
• HSV/HSB: Hue, Saturation, Value or Brightness
• HSI: Hue, Saturation, Intensity
• Saturation represents the distance a color is from white. Very dark, almost-black colors may have high saturation. HSL is the only space in which very light colors can also be highly saturated.
• Chroma represents the distance a color is from the gray axis. Since black and white are both on the gray axis, very light and very dark colors are treated equally, and tend to have low chroma.
• The L*a*b*-based spaces (LCH and LSH) are device-independent, and if properly applied, the results will not depend on the working space of the image. This is not true of the other spaces.
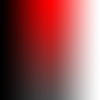
The image below has a saturation gradient from top to bottom, and a lightness gradient from left to right. Note that all of the saturation output spaces consider dark colors to be saturated. The chroma spaces represent what I think most people intiutively consider “color saturation” to be.
 |
 |
 |
 |
 |
 |
 |
| LCH | LSH | HCY | HSL | HSV/HSB | HSI |
 |
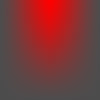 |
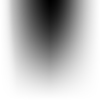
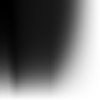
Of note, Photoshop, PhotoLine, and perhaps other image editors appear to use chroma rather than saturation for the Hue/Saturation adjustment and Saturation blend mode. The first image on the left is the saturation gradient image above, layered on top of itself and desaturated with the Hue/Saturation control, blend mode Difference. Notice that the effect of desaturation takes the shape of the chroma images above. The second image is the gradient image again, layered on top of a solid red background, blend mode Saturation. The same pattern is evident.
When using the plugin adjustments, remember that the image is a mask; lighter areas are less masked and will be more affected by a saturation control.
• The Level slider moves the low end of the value range like a levels control.
• Curve applies a simple gamma curve to lighten or darken the image.
• Invert results in a “reverse vibrance” mask, in which saturation adjustments target the more highly saturated values.
• Use Preview to see the effect with and without the mask.
• The preview histogram is a saturation histogram. White (background) is the original image; black (foreground) is the processed image.
To use, create the mask, then apply it to a hue/saturation adjustment layer. The adjustment then becomes something like a vibrance adjustment whose color ranges can be adjusted independently.
16-bit images work best; 8-bit images may show banding and noise.
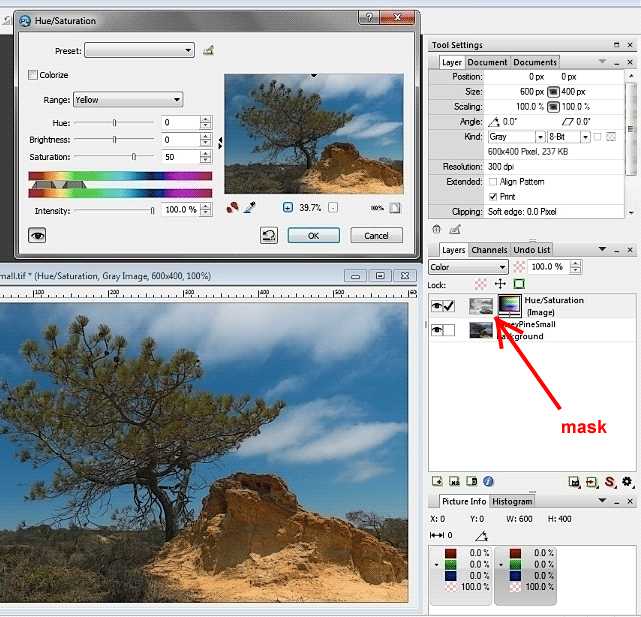
How to create and apply the mask
Open an image
Photoshop:
Select — All
Edit — Copy (Merged if applicable)
Edit — Paste
Or, right click the background — Duplicate Layer
Filter — RC Filters — Saturation Mask
O.K.
Select — All
Edit — Copy
Hide the mask layer (click the eyeball icon)
Layer — New Adjustment Layer — Hue/Saturation
OK (no adjustments yet)
Alt+click the adjustment layer mask to show it
Edit — Paste
Alt+click the layer mask to hide it
Now adjust the Hue/Saturation layer.
PhotoLine:
Layer — New Adjustment Layer — Hue/Saturation
OK (no adjustments yet)
Edit — Merged Copy (note: Duplicate Layer sometimes causes unexpected results)
Edit — Paste as Layer
Filter — RC Filters — Saturation Mask
O.K.
Layer — Merge Down (into the Hue/Saturation layer)
Now adjust the Hue/Saturation layer.
Download
Download the zipped file, then copy the plugin, the help file, and the demo registration key into your plugins folder. The filter will appear under “RC Filters.”
Download them all
Registration
The unregistered filters will save images up to 720 pixels in width and/or height. Please purchase a registration key for $9.00 which unlocks all of the RC Filters. Use either of the secure links below and I will e-mail you a text file (RCFKey.txt) to copy into your plugins folder. Be sure to use a valid e-mail address (I don’t sell or give them away). I check my e-mail for payment notifications every morning, Pacific time, and other random times; if you do not receive a key within one day it means I am in the hospital. If you paid for any of the RC Filters before keys were used, email me and I will send you a key. The filters come with a demo key; if properly installed, the dialog will say “Demo key” when you click the About button. Questions . . . .
The filters, the help files, and the registration key all go into the same folder. It may help to make an RC Filters subfolder. Each filter has a link back to the plugin folder on the About dialog for easy access.
|
© 2018 by Russell Cottrell; released under the
GNU General Public License. Updated 3/14/2018. |
16005 |